
VSCode is the most popular and most powerful source code editor used among developers worldwide. It was developed by Microsoft and is a free, open-source, cross-platform application that can run on Windows, macOS, and Linux.
It is far more than what could be called simply a “code editor” in its lightweight nature and its speed, it has lots of features one would get in a complete IDE: a seamless and efficient experience of development.

Core Features of VSCode
It’s for this reason that VS Code is so popular; it provides a number of features that facilitate working on a project from start to finish:
IntelliSense (Smart Code Completion)
VS Code offers advanced code completion, which Microsoft calls IntelliSense.
Smart Suggestions: Intelligent, context-sensitive suggestion for variables, functions, and modules as you type. Significantly speeds up coding while reducing errors.
Parameter Info: This displays information about function signatures as you call them.
Quick Info & Definitions: Shows you the definition of types or documentation for functions by simply hovering the mouse over code elements.
Refactoring: Rename symbols, extract methods, and more, all with tools to help you safely restructure your code
Integrated Debugging
Debugging is first-class in VS Code and is supported for a number of languages including JavaScript/Node.js, Python, C++, Java amongst others via extensions.
Breakpoints: It is possible to set breakpoints directly in your source code.
Variable Inspection: Inspect variables, view call stacks, and set watches to monitor values.
Step-Through Execution: Step over, into, or out of functions to control the flow of programs in debugging.
Debug Console: An interactive console that executes commands and evaluates expressions in real-time during debugging
Git & Source Control out of the box
VS Code has strong, native support for Git, the most popular version control system.
Source Control View: A dedicated view to see all of your repository changes, stage files, and commit directly from the editor.
Diff View: Quickly diff the current changes against the repository’s HEAD (or against any other branch/commit).
Branch Management: Create new branches, switch between them, and solve merge conflicts, all from within VS Code.
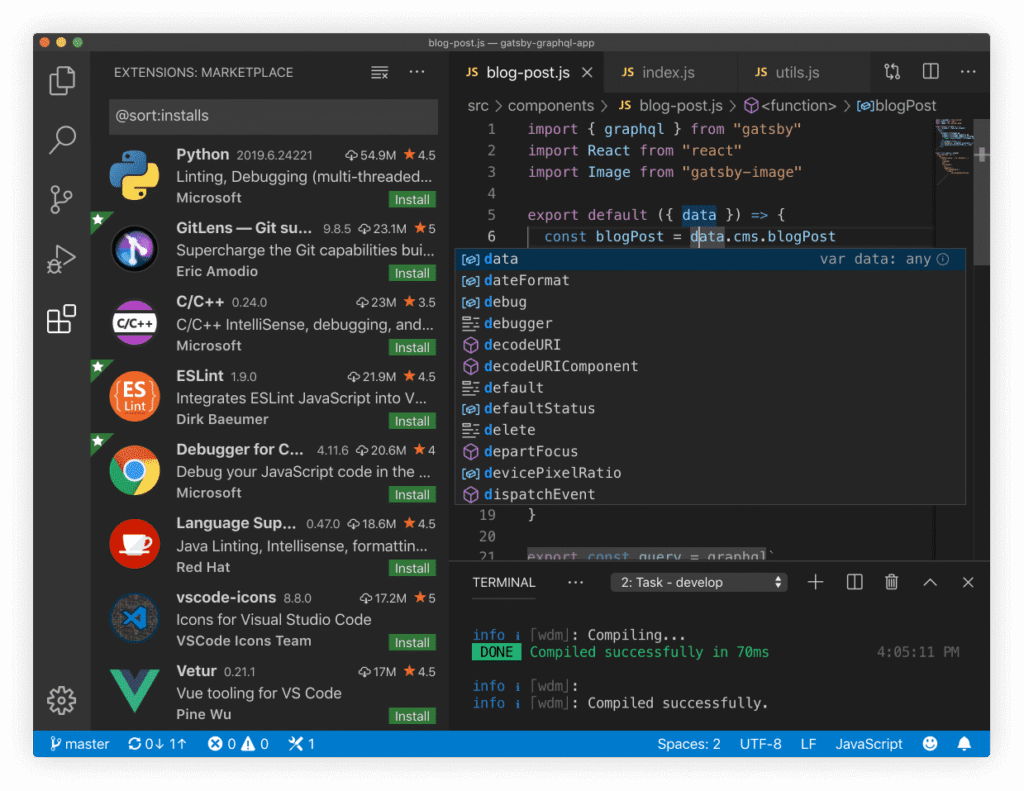
Marketplace Extensions
Perhaps VS Code’s greatest strength is the extension ecosystem, allowing it to be customized for virtually any language or workflow.
Language Support: Add syntax highlighting, IntelliSense, and debugging for languages not included by default. Example languages include Python, C++, Java, PHP.
Themes and Icons: Customize the appearance of the editor.
Linters and Formatters: Incorporate the use of ESLint or Prettier to maintain the code style and find common errors.
Productivity Tools: Extensions to Connect to Databases, Manage Docker Containers, Access Cloud Services, and Much More.

Integrated Terminal
For development, many scenarios require the execution of command-line tools. VS Code has integrated a powerful terminal right in the editor’s panel.
Multi-shell support: supports multiple shells out of the box, including Bash, PowerShell, Zsh and more.
Multi-Terminal: You can open multiple terminal instances, this allows you to run build commands, operations related to Git, and server processes without having to leave the editor.
Key Architectural Points
Lightweight: It is based on the Electron framework, hence it is cross-platform, keeps its startup time fast, and its memory usage low – a definite advantage compared to some heavy traditional IDEs.
Language Server Protocol (LSP): VS Code initiated the LSP-a standardized communication protocol between a language-specific service and the editor. The latter is indeed a modular approach that allows these rich, intelligent editing features to extend to so many different programming languages through extensions.
Monaco Editor: The main text editor component is what is used in Azure DevOps, Microsoft’s cloud platform.
Advanced Developer Features
Remote Development: The extensions for Remote Development-such as Remote – SSH, Remote – Containers, and Remote – WSL-enable you to do development on a different machine, container, or subsystem from where the UI is running. This was great for maintaining a consistent development environment.
Live Share: An extension to directly enable collaborative development, enhancing the ability for multiple users to edit and debug the same codebase at the same time-a Google Doc for code.
Customizing: Almost every aspect of VS Code is customizable. You’ll find keyboard shortcuts, themes, and more granular settings that are definable per project (workspace settings).
HOW TO DOWNLOAD VISUAL STUDIO CODE?

STEP 1 :
Go to the official Visual Studio Code website .Open your web browser (Chrome, Edge, Firefox, etc.).
Go to the Visual Studio Code website.
Download the Installer
The site will probably recognize your operating system, but you can choose the proper download manually:
For Windows
For Windows, click the large “Download for Windows” button. JUST click the download button and it will start downloading. You may be looking for the User Installer for x64 or Arm64, which is probably what your system is (most computers are x64).
For macOS
For macOS, Click on the “Download for Mac” button. In most cases, a Universal download is available, which is compatible with Intel Macs, as well as M1, M2, M3 Macs with an Apple Silicon chip.
For LINUS
For LINUS, packages may be available in Debian/Ubuntu (.deb), Red Hat/Fedora/SUSE (.rpm), etc. Choose your Linux distro’s respective installation button.

STEP 2 :
Install Visual Studio Code.
STEP 3 :
Windows Installation
Run the Installer: Find the downloaded file that is typically named similar to VSCodeUserSetup-x64-*.exe, then double-click that file.
Accept License: Read the license terms, check “I accept the agreement,” and click Next.
Start Menu Folder (Optional): Determine whether to include a Start Menu folder. Click Next.
Select Additional Tasks (Recommended): This is a very essential step for a seamless process. It is highly advisable to select the following:
1. Handling “Open with Code” command on Windows Explorer file context menu.
2.”Open with Code” action is added to Windows Explorer directory context menu.
Register Code as an editor for supported file types.
Add to PATH (this will make it possible to use the “code” command on your terminal).
Install: Click on the ‘Install’ button.
Finish: Click Finish. The checkbox is available to run VS Code on startup.
MacOS Installation
Open the Archive: Right-click on the downloaded zip file and double-click on it to unpack the application.
Move to Applications: Drag the “Visual Studio Code” application file into your /Applications folder.
Launch: Now, VS Code can be launched by double-clicking on the icon in your Applications folder or from your Launchpad.
Add to PATH (Optional, Recommended):
To run VS Code from your terminal, launch VS Code, use the command “Cmd+Shift+P,” and enter “shell command” to select “Shell Command: Install ‘code’ command in PATH.
Launch :
You can find the Visual Studio Code application inside your application menu, but you can also launch it from the command line terminal by typing “code” in the terminal.Once installed, the software is launched, giving you the VS Code Welcome Page. You are now ready for programming.
Area Location Purpose Key Shortcut
- Editor Center Where you write and edit your code. You can open several files in different tabs.
- Activity Bar Far Left The main navigation for switching between views – Explorer, Search, Git, Run/Debug, Extensions.
- Side Bar (Explorer) Left Panel Displays the contents of your workspace (folder). This is used to create, delete, and manage your files/folders. \text{Ctrl}+\text{Shift}+\text{E}
- Panel Bottom The integrated Terminal, Output, Problems, and Debug Console are some views that it possesses. {Ctrl}+text
- Status Bar Bottom Strip Provides contextual information of current Git branch, language mode, line number, warnings / errors.
- Command Palette Everywhere! The most important tool. A search bar for all commands, settings and files.
Basic Editing and File Management
Managing Files
New File/Folder: In the Explorer Side Bar hover your mouse over your folder name and click on the respective icons for New File or New Folder.
Open File: Open any file in the Explorer in the Editor by clicking on it.
Save: Press Ctrl+S (or Cmd+S on Mac). You can turn on Auto Save from File > Auto Save.
Code Editing Essential
IntelliSense: As you type, VS Code provides smart suggestions (function names, variable names, etc.). Press {Enter} or {Tab} to accept the suggestion.
Code Folding: Click the small arrows next to line numbers to collapse or expand blocks of code (functions, loops).
Multi-Cursor Editing: Press and hold Alt (or Option on Mac), and click in multiple spots. Now, all typing will happen in these locations simultaneously.
Find and Replace: Ctrl + F – find in the current file; Ctrl+H- find/replace
The Power of Extensions
VS Code can be fine-tuned to a great degree using its extensions.
How to Install Extensions?
Click the Extensions icon (the four squares) in the Activity Bar (n Ctrl+Shift+X).Use the search bar to find an extension by typing, for example, “Python”, “React”, “Prettier”.
Click the extension in the results, then click the Install button.
Extensions to get you started:
To set up in your programming language, Install the official extension for the language you are using, Python, C/C++, Java, or PHP. This will provide better IntelliSense, linting and debugging.
Prettier: A must-have code formatter that automatically formats your code in a consistent style.
Live Server: Great for web development. Launches a local development server that auto-refreshes your webpage every time you save a file.
Running and Debugging Code
Running Code (Integrated Terminal)
Open the Integrated Terminal by pressing {Ctrl}+ (Backtick).
This terminal starts in your project’s root directory.
You can run your code here using common terminal commands, such as node index.js, python script.py, or npm start.
Debugging
Click on the Run and Debug icon in the Activity Bar.
Set a breakpoint: Within the gutter, which is the area to the right of the line numbers, click on the line where you want the program to stop. You will see that a red dot appears.
Click the green Start Debugging button (or press {F5}.)
With a breakpoint set, the program stops at that line. You can then apply the debug controls to manage the flow: Step Over, Step Into, Step Out, and Continue, to name a few.
Using Git (Source Control)
One of the most popular features within VS Code is its Git integration. Click the Source Control icon on the Activity Bar.
Initialise/Clone: If this is a new folder, then click Initialise Repository. If it’s existing, then it shows the current status.
Staging and Committing:
Files you’ve modified show up in the Changes list.
Click the + icon next to a file to Stage it (prepare it for commit).
Type a Commit Message at the top. Click the Commit button (or \text{Ctrl}+\text{Enter}). Push/Pull: The options for Pull, Push, and Sync can be accessed by using the three-dot menu (.)
CONCLUSION
The core takeaway remains this: Visual Studio Code is far more than just a simple code editor; it’s a lightweight, feature-rich IDE that meets you wherever your code lives.
Its extension ecosystem is the true game-changer, allowing you to tailor the editor precisely to your language, framework, and workflow needs. If you’ve been on the fence, there’s no better time to take the leap.


2 Comments
Ayan aslam
June 3, 2026Plz matric tech subjects class 10
Health science tech
Biology tech
Physics tech
Chemistry tech
Sultan Tutor
June 6, 2026Download all your Tech Books from the Official Link https://pectaa.edu.pk/curriculum-compliance/